A kitchen renovation goes wrong when measurements, service points and trade sequencing are treated as separate decisions. By following each stage from the homeowner brief through site checks, design freeze, installation and snag correction, you can approve a workable plan and catch errors before they become expensive rework.
Key takeaways
- Check society permissions before altering plumbing, ventilation or shared shafts.
- Re-measure after demolition before ordering cabinets or countertop material.
- Freeze appliance sizes, sockets, plumbing points and cabinet drawings before installation.
- Test water, drainage, electrical circuits, ducting and hardware during handover.
Assess the room, household needs and Pune society rules first
A kitchen renovation layout is viable only when the room can support its services without moving structural or shared building elements. Check the wet-area location, drainage route and slope, ventilation, natural light, shaft access, beam and column projections, and the position of doors and windows before choosing an L-shaped, parallel or U-shaped plan.
Write down your household brief before reviewing cabinet drawings: number of daily users, cooking style, appliance list, storage needs, sink and hob positions, waste segregation, breakfast seating and accessibility requirements.
A plan that looks efficient on paper fails when two people cannot pass, a refrigerator door hits a wall, or a tall unit blocks a window.
Get written society or building-management confirmation for:
- Working hours and noisy drilling
- Lift protection, material movement and debris removal
- Water shut-offs and gas-line work
- Drilling into slabs, beams or service shafts
- External-wall, window and exhaust changes
Do not alter a load-bearing wall or common service shaft as ordinary modular work. Record wall lengths at several heights, ceiling height, diagonals, plumb, openings, service points and appliance sizes; tapered walls need fillers or scribed panels, not forced cabinet alignment.
This assessment establishes whether the existing room can accept your chosen layout safely and legally.
Measure the kitchen twice: before work and after demolition
A reliable kitchen reno process in Pune starts with a scaled survey, not a cabinet estimate. Measure each wall at floor level, countertop height and near the ceiling; record the longest and shortest readings, floor-to-ceiling height, wall diagonals, and whether each wall is plumb. A floor plan alone misses tapered corners.
Record these points before demolition:
- Window and door width, height, sill level, frame depth, swing direction and distance from each corner.
- Beam, column, duct and shaft positions, including their projection from the finished wall.
- Sink waste, water inlet, floor trap and washing-machine points, with centre-line heights and distances from corners.
- Every electrical point: switchboards, sockets, chimney outlet, refrigerator supply and appliance circuits.
- Gas pipe position, valve access and the route available for a cylinder or piped-gas connection.
- Appliance model dimensions, ventilation clearances and door-opening space; note whether each item is built-in or freestanding.
Compare the survey with the post-demolition site before manufacturing.
| Stage | Check | Why it matters |
|---|---|---|
| Before demolition | Existing finishes, services and obstructions | Establishes the starting reference |
| After demolition | Bare-wall lengths, diagonals, plumb, ceiling and floor levels | Exposes hidden offsets and changed heights |
| After plaster, tiling and flooring | Finished wall positions and service centres | Prevents cabinets and cut-outs from missing their targets |
Use an end filler, scribed panel or removable service gap to absorb irregular walls. Never force a cabinet against an out-of-plumb corner; doors will bind and drawers may not clear adjacent walls.
Compare layouts and freeze every cabinet and appliance decision
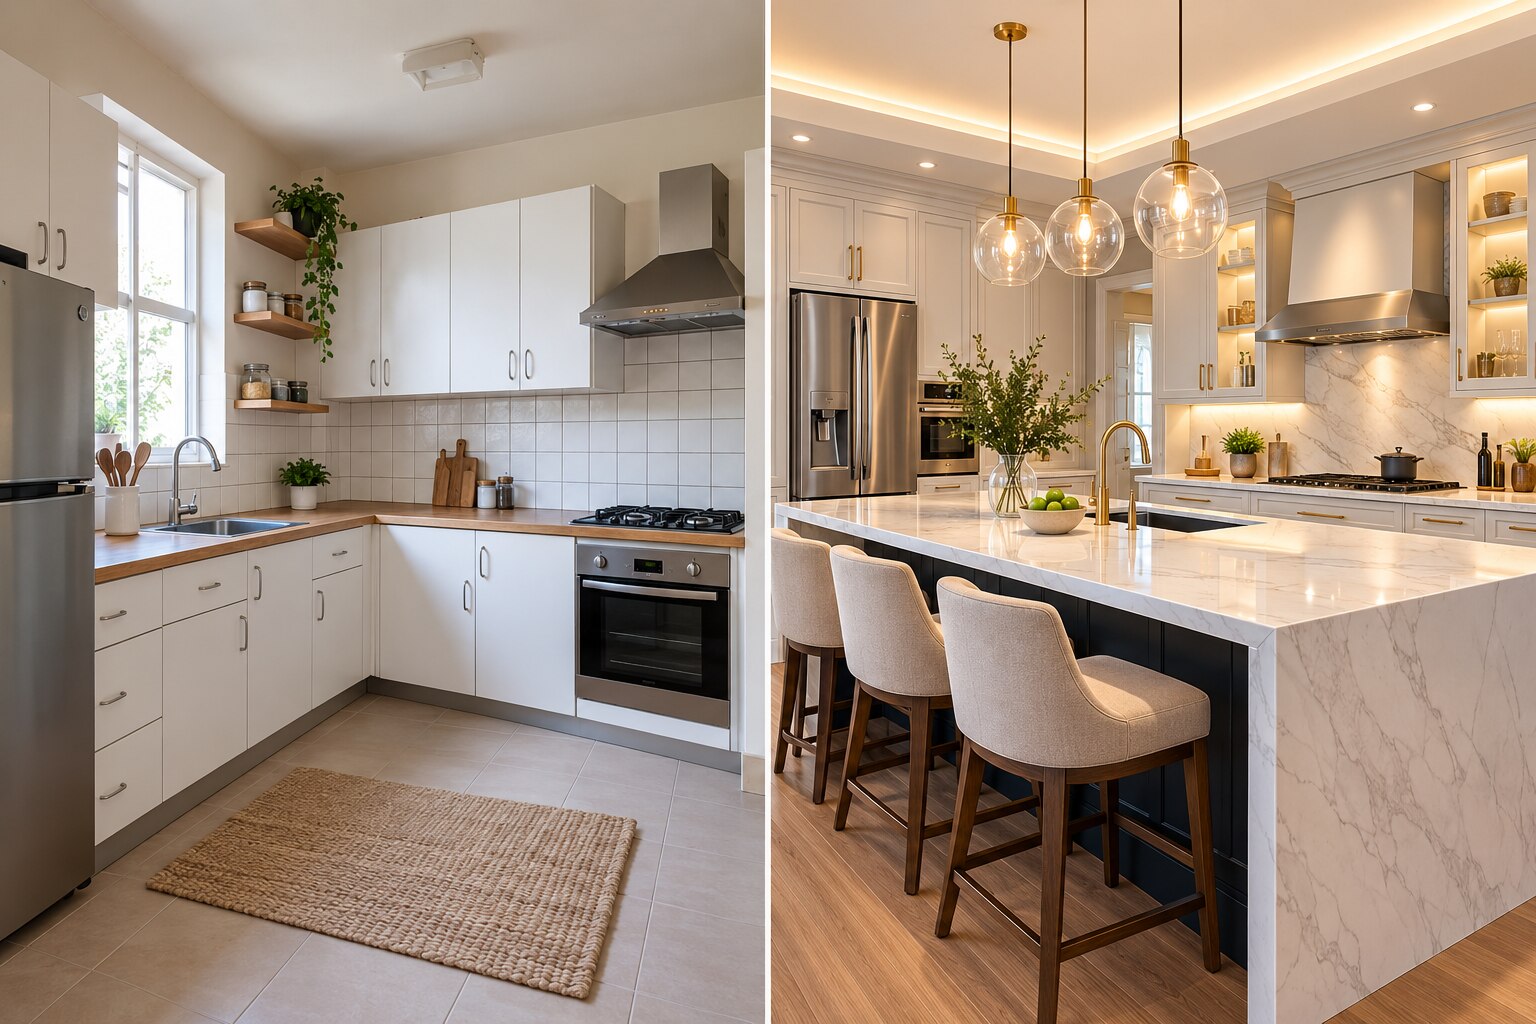
Select a layout by matching circulation, storage and service locations—not by copying a showroom. Keep at least 900 mm clear aisle space where two people cook. For a kitchen reno, draw scaled plans for straight, L-shaped, parallel and U-shaped options, then place the sink, hob, refrigerator, chimney route, microwave, bins, purifier and washing machine.
| Layout | Main advantage | Check before freezing |
|---|---|---|
| Straight | Works in a narrow room | Confirm storage and appliance clearance |
| L-shaped | Separates cooking and washing zones | Protect the corner from dead space |
| Parallel | Gives generous work surfaces | Keep the aisle at least 900 mm wide |
| U-shaped | Maximises storage and preparation area | Check that doors and drawers do not clash |
Freeze each item on an annotated elevation and appliance schedule before factory cutting. Record carcass widths, heights and depths; shutter finish and edge band; handles; drawer hardware; filler and scribe sizes; plinth height; countertop thickness; backsplash height; sink cut-out; and every socket, switch, gas and drain access.
Nominal cabinet sizes do not guarantee fit, so reserve service gaps and removable panels.
Specify the chimney duct diameter from the appliance manual and approve its route, or choose recirculation with filter access. Make the quotation separate cabinetry, civil work, services, countertop, appliances, ducting, installation, transport and debris disposal. Manufacturing starts only after you sign one revision-controlled drawing with appliance model numbers and opening directions.
Sequence plumbing, electrical, ducting and civil work before cabinets
Cabinets go in only after wet, dusty and concealed work is complete and tested. Use this handoff sequence:
1. Mark the final cabinet, sink, hob, chimney and appliance positions on the walls. Confirm the quotation separates cabinetry, civil work, plumbing, electrical changes, ducting, countertop, backsplash, debris removal and remedial visits.
2. Complete demolition, then run concealed plumbing, drain lines, gas piping and electrical conduits. Provide dedicated, earthed circuits with correctly sized protection for the oven, induction hob, dishwasher and water heater; never hide a power strip behind a cabinet.
3. Install the chimney duct with the shortest practical route and confirm its outlet before closing the ceiling or wall. Pressure-test plumbing, check drain flow and photograph every concealed service for future drilling decisions.
4. Repair walls and floors, complete waterproofing, plastering, tiling and painting, then remove debris. Let wet surfaces dry before delivery; trapped moisture behind a carcass can swell boards and corrode hardware.
5. Re-measure the finished room, check wall plumb and floor level, and approve fillers, scribes, service gaps and access panels. These absorb Pune homes’ uneven walls instead of forcing doors or drawers out of alignment.
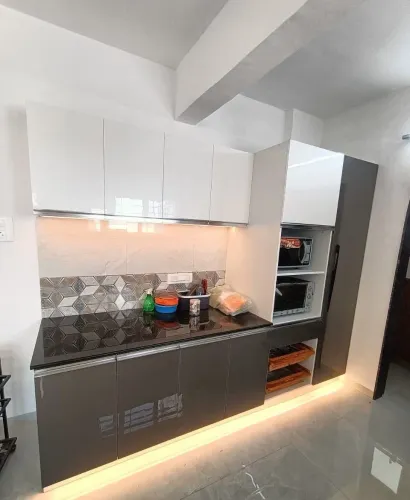
Keshar Modular Kitchen can use this signed trade handoff to coordinate a kitchen renovation without sending finished units into unfinished civil work. This sequence protects both the cabinets and your wider kitchen home improvement budget.
Related product
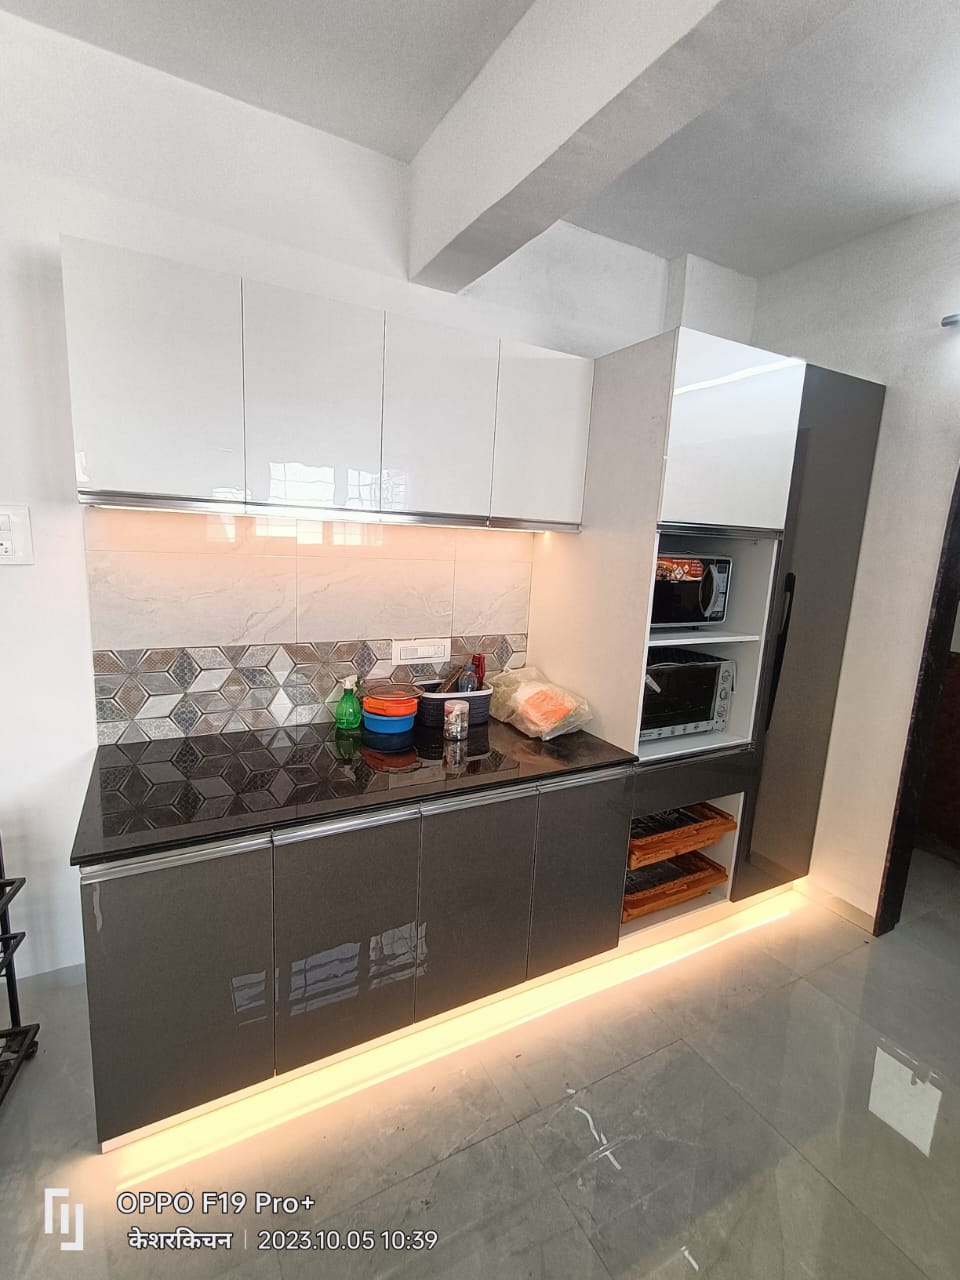 | KITCHEN INTERIOR All types of modular kitchen are manufactured in all over Pune, located in Wanawadi, Fatime Nagar, Hadapsar, Handewadi, Mohammedwadi, Kondhwa, B T... View product → |
Install the kitchen in the correct order and template the countertop on site
A levelled base cabinet is the reference point for everything above it. Install cabinetry while plaster, tiling, painting or plumbing repairs remain unfinished, and dust or moisture can damage panels or force later adjustments.
1. Finish demolition, concealed plumbing, electrical circuits, ducting, wall repairs, flooring and paint before bringing in cabinets. Confirm appliance dimensions and service points against the final drawings.
2. Fix and level the base cabinets, then secure them to the wall. Use fillers, scribes and service gaps where walls are out of plumb; forcing doors against an uneven wall causes binding and poor alignment.
3. Template the countertop on the installed bases, not from the original measurement. Check actual wall deviations, overhangs, joints, sink and hob cut-outs, backsplash space and dishwasher clearances before fabrication.
4. Approve the sink and hob models before cutting stone. Changing either after fabrication can make the countertop unusable.
5. Install the countertop, seal joints and confirm that the sink, hob and wall protection fit correctly. Then install wall units and tall units, keeping doors clear of corners, windows and appliance openings.
6. Connect appliances only after cabinets and counters are fixed. The electrician must verify dedicated or suitably segregated circuits, earthing and protection for induction hobs, ovens, dishwashers and water heaters; a power strip is not a substitute.
This sequence keeps the kitchen reno process in Pune predictable and prevents a rushed kitchen reno from turning small measurement errors into replacement work.
Test every service, record snags and complete handover
Accept the kitchen only after testing it under normal use, not after a quick visual walk-through. Keep a dated snag list with photographs before signing handover for your kitchen home improvement project.
- Open and close every door and drawer. Check even reveals, aligned handles, smooth runners, edge bands, filler panels and clearances beside walls and appliances.
- Run the sink and water purifier for several minutes. Inspect traps, flexible hoses and cabinet floors for leaks.
- Test every appliance socket, switch and light; have an electrician verify earthing with a tester. Run the chimney and check its controls, noise and airflow.
- Confirm tall units are firmly anchored and that drain, gas and electrical isolation points remain reachable.
- Check countertop joints, silicone seals, wall finishes and appliance fit.
Record each defect, its correction date and a retest result. Accept handover only after receiving manuals, warranties, keys and written snag closure.
Frequently asked questions
What should you check before choosing a kitchen layout in a Pune home?
Check the wet-area location, drainage route and slope, ventilation, natural light, shaft access, beam and column projections, doors, windows and Pune society rules.
Why should you measure the kitchen twice?
Measure before work to plan the renovation, then measure again after demolition because removed tiles, plaster and cabinets can change the finished dimensions.
Which kitchen decisions must be final before cabinet manufacturing?
Freeze the layout, cabinet dimensions, appliance models and sizes, sink position, plumbing points, electrical sockets, lighting, ducting and countertop requirements.
What work must happen before kitchen cabinets are installed?
Complete plumbing, electrical wiring, ventilation ducting, wall and floor repairs, waterproofing where required, and other civil work before installing cabinets.
What should you test during kitchen handover?
Test taps, drainage, water leaks, sockets, appliance points, lights, exhaust airflow, cabinet alignment, drawer operation, hinges and countertop joints, then record outstanding snags.